June 2015
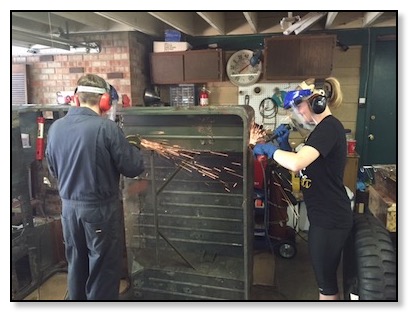
Grind Baby Grind
Jun/29/2015 19:00 Filed in: Phase II
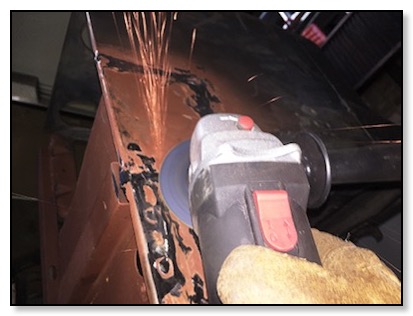
After welding patches and filling holes there came a lot of noise, sparks and metal filings as we gound down the welds.
Rusted Brake Drum
Jun/28/2015 20:00 Filed in: Phase II
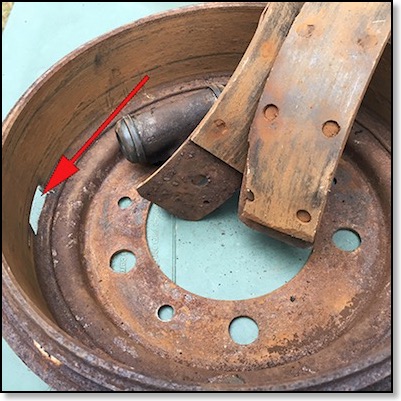
The LR brake drum was totally seized and would not budge. After doing all the adjusting, blasting, heat treatments and beating the drum it took major surgery which included drilling out the Hold Down Pins, disconnecting the brake cylinder and cutting an access hole in the drum to force it off.
Missing Bleeder Screw
Jun/26/2015 18:00 Filed in: Phase II
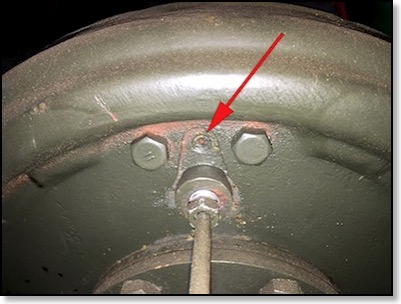
After bench bleeding the new master cylinder we prepared to bleed the brakes. When much to our disappointment the RR brake cylinder was missing the bleeder screw. That required us to replace the wheel cylinder and while we are at it we replace the brake shoes on both rears.
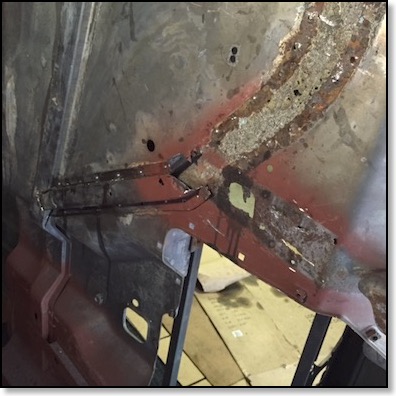
Repair Side Pannel
Jun/23/2015 18:00 Filed in: Phase II
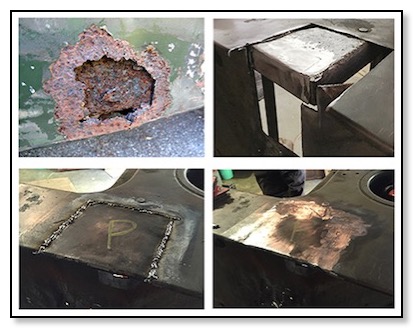
The passenger side panel needed to be replace with good steel. It was complicated by having to replace three separate layers.
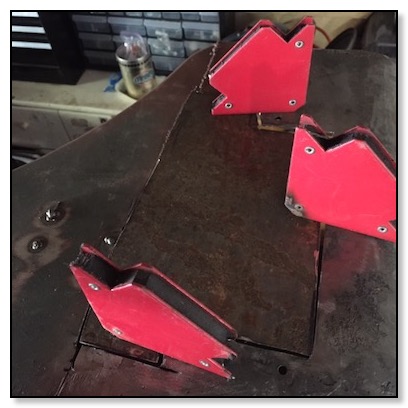
Grinding the Welds
Jun/21/2015 17:00 Filed in: Phase II
We started the important process of grinding down all the welds to ready the tub for the body filler and sanding.
Welding Spoon
Jun/20/2015 18:00 Filed in: Phase II
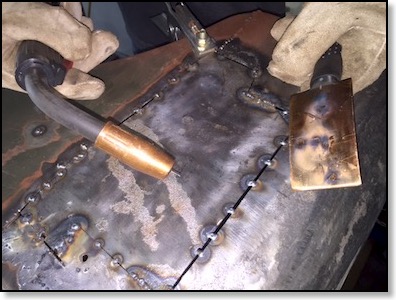
We started using a copper welding spoon to close the gaps and fill the holes. It really helps keep the welds neat and reduces the amount of grinding later.
Built Patch
Jun/14/2015 16:00 Filed in: Phase II
We cut out a section of the rear side panel and replaced it with a welded patch. We fabricated the patch from the old section of the tub we removed.
Floorboard Repair
Jun/13/2015 10:00 Filed in: Phase II
We removed the last of the corroded hat channel to get at the damaged floorboard.
Out of Hibernation
Jun/12/2015 10:00 Filed in: Phase II
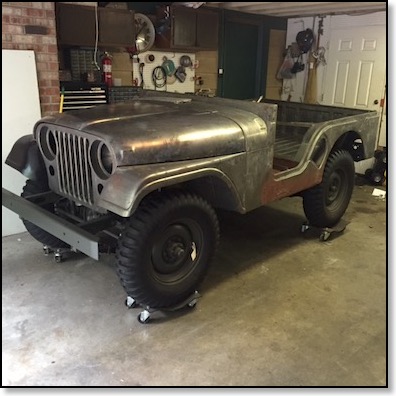
The forth season began. We took the jeep out of hibernation to begin this summer’s work. We set the ambitious goal to be driving it by September 2015! Alas, it was not to be. It took until June 2016.