July 2015
It's USMC Forest Green!
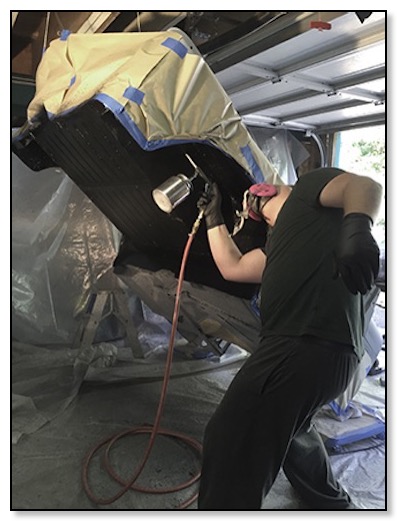
Jul/29/2015 17:00 Filed in: Phase II
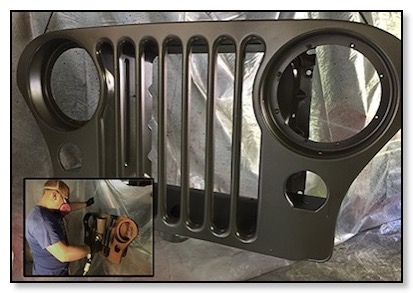
We started the last leg of the body prep by painting the tub bottom undercoat, the hood and the grill Marine Forest Green.
Added Undercoating
Jul/28/2015 18:00 Filed in: Phase II
After priming the tub bottom we added a healthy layer of rubberized undercoating to protect and preserve. It is a “paint over” coating which allowed us to cover it with the the original Marine Forest Green.
Prep Hood, Grill, Tub Bottom
Jul/26/2015 18:00 Filed in: Phase II
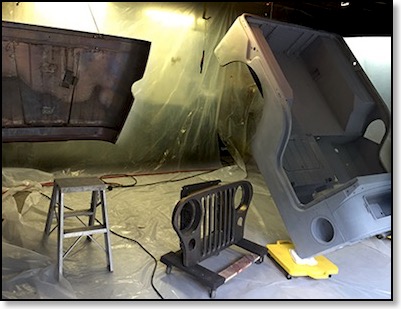
We prepared the hood, grill and tub bottom with rust prohibitive prior to the primer.
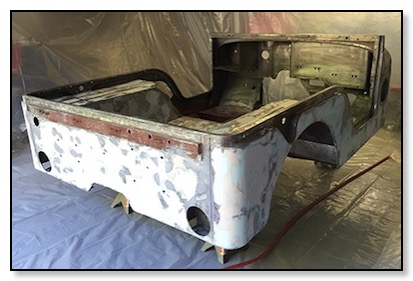
Sandable Grey Primer
Jul/18/2015 17:00 Filed in: Phase II
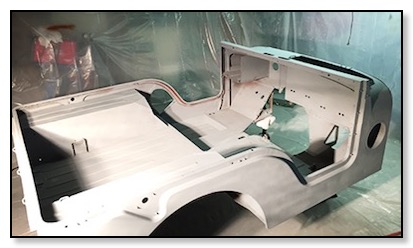
We’re used sandable grey primer for the first three coats. In retrospect we should have used the red oxide primer.
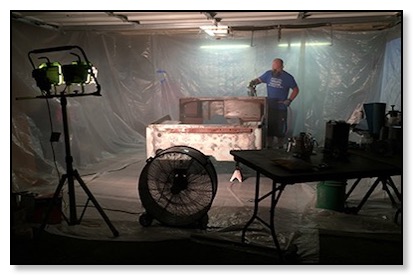
Ready for Primer
Jul/16/2015 19:00 Filed in: Phase II
After prepping the tub we set up the garage for applying the primer.
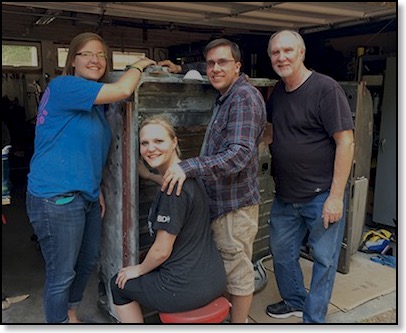
Completed Tub Prep
Jul/15/2015 18:00 Filed in: Phase II
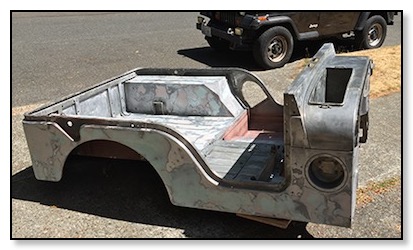
A little dent repair, a little Bondo, and a lot of sanding and the preparations for painting the tub was complete. Thanks to all in the Motor Pool who lent a hand!
Sanding, Sanding, Sanding
Jul/09/2015 21:00 Filed in: Phase II
We continued to do more sanding. It took serval application and hours of sanding to flatten the panels.
Patching Holes
Jul/08/2015 17:00 Filed in: Phase II
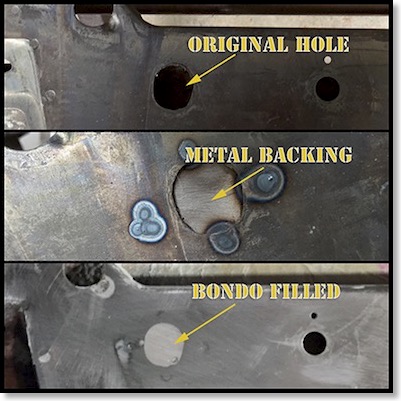
We devised a good way to fill unwanted holes and large open areas. We spot welded a sheetmetal patch on the back and then filled it with Bondo. It’s a strong patch that turned out virtually invisible.
Fixing a Few Hood Dents
Jul/06/2015 18:00 Filed in: Phase II
We completed the hood repair and final coating of Bondo with a little help from Danny.
All the Help We Can Get!
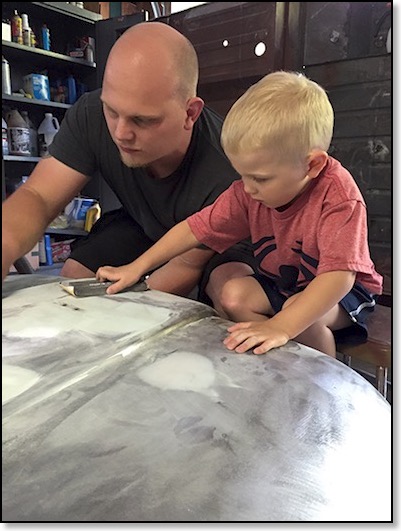
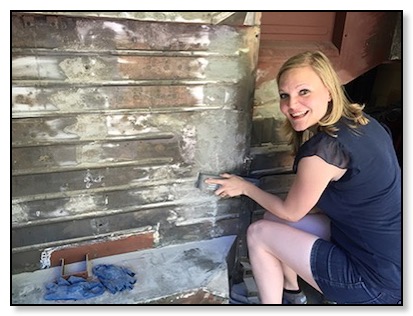
Jul/05/2015 19:00 Filed in: Phase II
Tiffany brought her family over for a little quality sanding time! Unfortunately we lost power in our neighborhood that day so we had to cut the time short.
New Pinion Oil Seal
Jul/04/2015 19:00 Filed in: Phase II
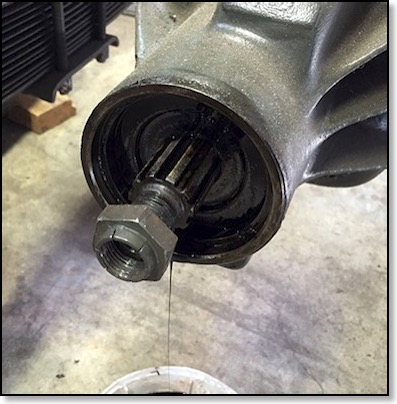
In preparation for installing the tub we completed repair and replacement of parts when it was easiest to get at them. We replaced the rear pinion oil seal which had been leaking before the restoration. We should have replaced all the seals in the transfer case as well. As it turned out we wound up replacing them later from under the jeep—much harder!
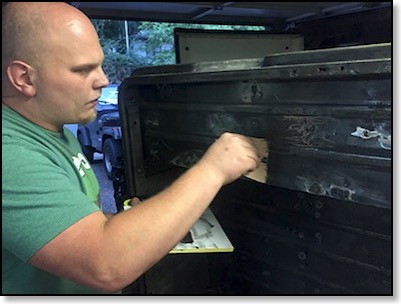
Sanding Help
Jul/03/2015 16:00 Filed in: Phase II
We needed all the help we could get! There were hours of sanding and filling to do!
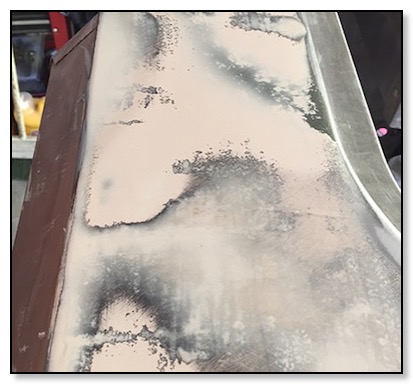
Body Filler Day 1
Jul/02/2015 18:00 Filed in: Phase II

When the rough stuff was done, it was time to start leveling the high and low surfaces. We used a combination of long and short fiber and Bondo.
First Application of Body Filler
Jul/01/2015 21:00 Filed in: Phase II
We started adding the first application of body filler. We started with long fiber filler for all the holes and small openings followed by some Bondo and glazing. At that point we hand many hours of sanding ahead of us!
Finished Grinding the Welds!
Jul/01/2015 20:00 Filed in: Phase II
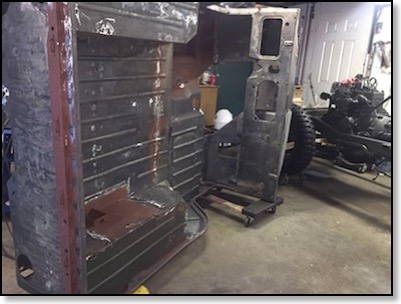
We finished grinding all the welds; another milestone! It was a relief for our neighbors to have their nice quiet cul-de-sac again.
Completed Welding!
Jul/01/2015 17:00 Filed in: Phase II

We completed all the welding on the tub; a milestone event! Two years before we joined the halves then it was time to finish the grinding.