July 2012
Finished Engine Restoration
Jul/29/2012 17:00 Filed in: Phase II
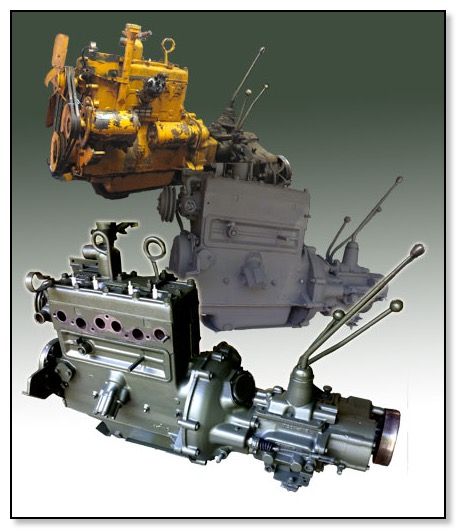
It took awhile, but the engine was restored. We mounted it on to the frame. It looked great and without all the dirt and grease it was a breeze to work on.
Cleaned and Primed Engine
Jul/26/2012 18:00 Filed in: Phase II
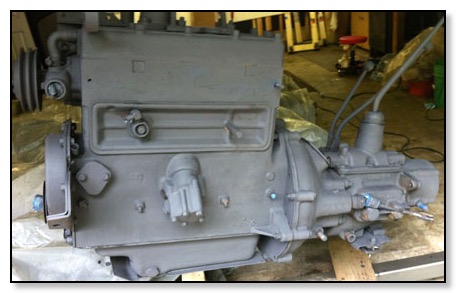
Turning the engine from a dirty greasy yellow to a nice cleaned and primed engine was about 12 hours in the making! But it was worth it! Fortunately we did not have to rebuild the engine, it ran well when we started the project. Just a few electrical and fuel issues which we addressed in Phase III.
Painted Parts & Completed Tires
Jul/25/2012 17:00 Filed in: Phase II
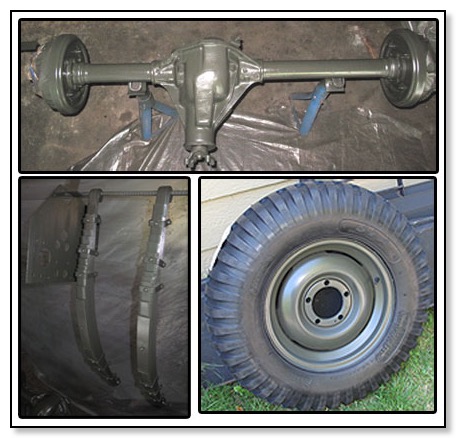
Another exciting milestone! We painted the axles and springs with the beautiful “Marine Forest Green” and installed the new tires on the freshly restored rims.
Primed Front Axle Assembly
Jul/24/2012 18:00 Filed in: Phase II
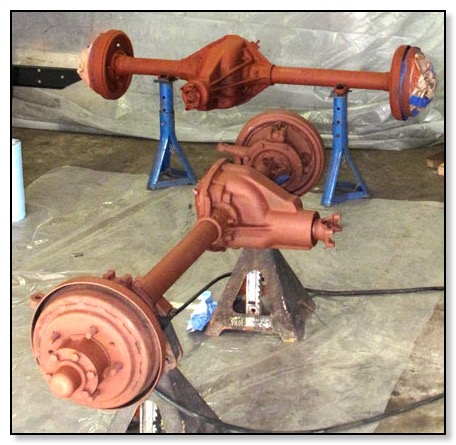
After a thorough cleaning we primed the front axle assembly.
Cleaned Front Axle Assembly
Jul/22/2012 17:00 Filed in: Phase II
It was very important to clean all the grease from the axle before it was primed. We used a combination of cleaners. A heavy duty cleaner from Harbor Freight, Simple Green, and a special Marine Cleaner from the auto paint store, and of course, a lot of elbow grease, scraping and wire brushing.
Painting Frame and Wheels
Jul/21/2012 19:00 Filed in: Phase II
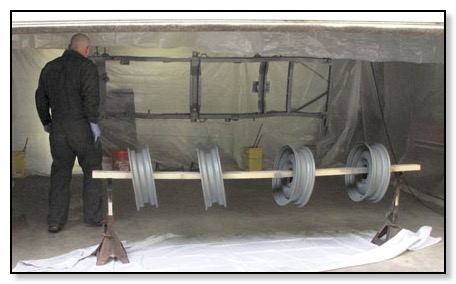
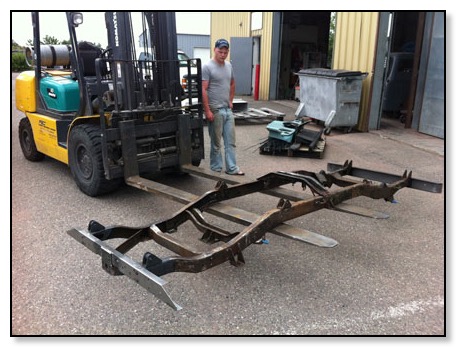
We hung the frame and put the wheels through a 2x4 on jack stands for priming and painting. Seeing the frame and wheels completed helped us visualize the finished restore. It was getting exciting!
Pick up Sanblased Parts
Jul/20/2012 20:00 Filed in: Phase II
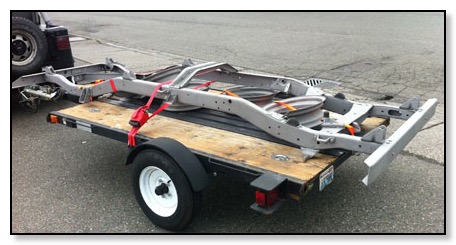
We picked up the frame and wheels from the sandblasters. After checking with a number of local sandblasters the price for wheels and frame ran has high as $50 a wheel and $300 for the frame. We found a shop that did the whole job for $180!
Replacing the Manifold Studs
Jul/19/2012 17:00 Filed in: Phase II
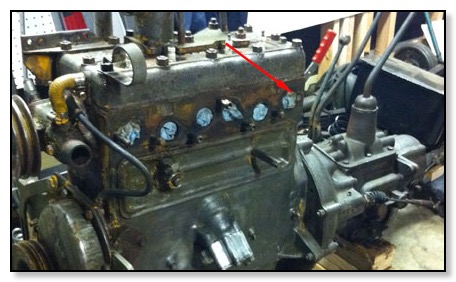
While removing the engine we broke a mounting stud. They were in pretty bad shape. It sheered off flush to the engine block. After a feeble attempt to remove it we decided to take to a local machinist and had him replace them all. Some things are just better done by a professional with the right tools.
Sandblasting Frame and Wheels
Jul/18/2012 16:00 Filed in: Phase II
We took the frame to the sandblasters to prepare it for painting.
Cleaned Leaf Springs
Jul/17/2012 18:00 Filed in: Phase II
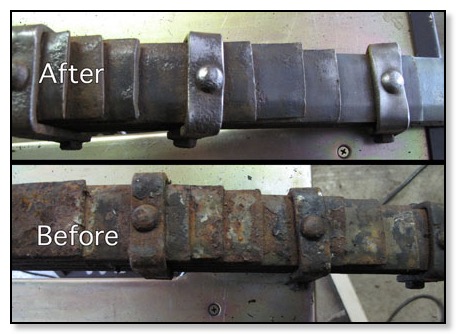
We cleaned the leaf springs by hand! It was a tedious job to say the least. It took about three hours per spring. We wanted to preserve the original 13 leaf spring assembly. The repros seem to come with fewer leaves.
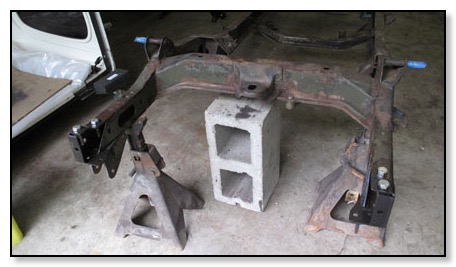
New Crossmember and Bumper
Jul/17/2012 04:00 Filed in: Phase II
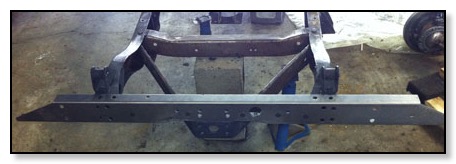
We installed the new crossmember and front bumper. The crossmember assembly required welding the pintle hook plate and the inside support in place. We also had to deal with the rivets that attach the crossmember to the frame.
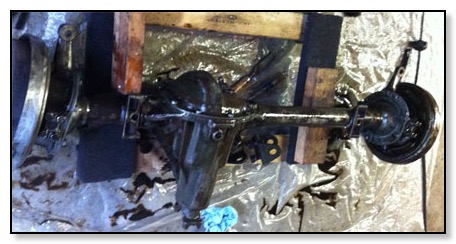
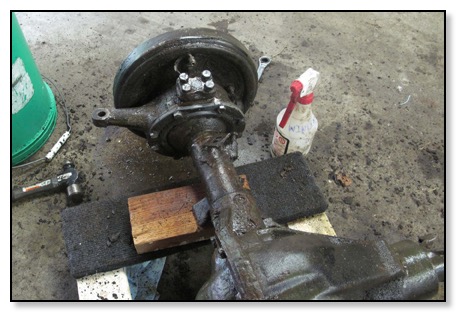
Cleaned and Primed Rear End
Jul/15/2012 18:00 Filed in: Phase II
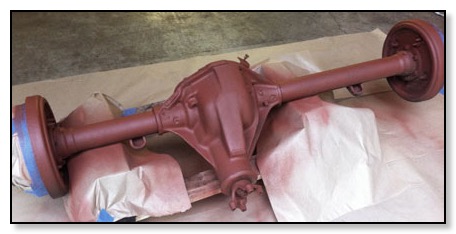
Completed cleaning and applied a primer to the rear end assembly.
Prep Frame for Sandblasting
Jul/11/2012 18:00 Filed in: Phase II
We spent some time preparing the frame for sandblasting; degreasing, scraping paint and removing a few more parts. Both the front bumper and rear crossmember were replaced prior to sandblasting.
First Painted Part
Jul/10/2012 16:00 Filed in: Phase II
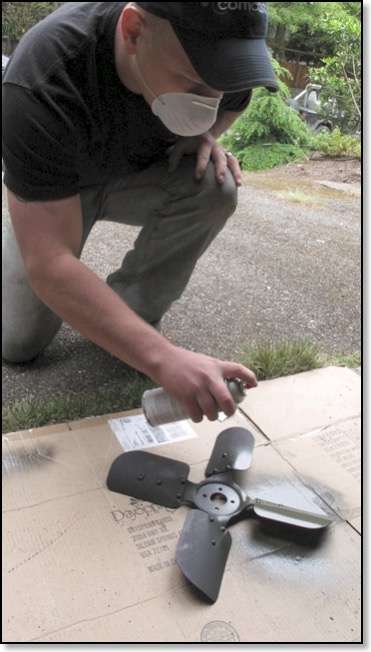
Another landmark event, we painted in Marine Forest Green on our first fully resorted part—the fan. Many more parts followed, some new, some restored, as we looked forward to Phase III, reassembly.
Removing Rear Crossmember
Jul/07/2012 18:06 Filed in: Phase II
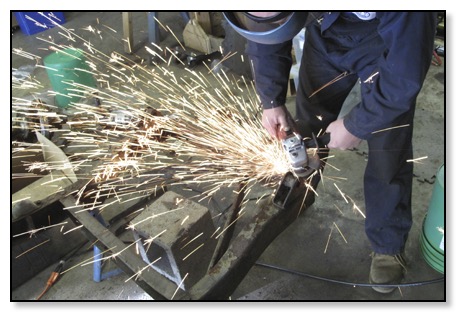

After some discussion we decided to replace the rear crossmember. It was in poor shape and sustained quiet a blow in a rear end collision resulting in a slight bow inward with tears and buckles in the metal at both ends near the rivets. We decided to also replace the “V-Brace”. Bad idea! We made another newbie mistake. [Check out the Learning Curve]
Removing the rivets was accomplished by grinding the top off clear down to the surface of the frame (carefully) until we could see the outline of the rivet shaft. Then we chiseled the other side to loosen the shaft followed by a center punch and multiple hard wraps with a big old hammer. In some cases we drilled partially into the rivet to help hold the punch in place. Patience is the key ingredient! The whole operation took about three hours.
Prep Parts for Paint
Jul/03/2012 17:00 Filed in: Phase II
We spent hours in the step by step task of cleaning, repairing, or replacing parts in preparation to paint them.