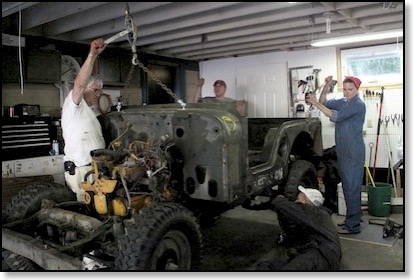
Phase I
Completed the Teardown
Oct/29/2011 18:00
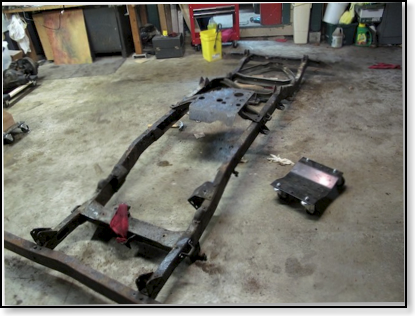
We finally reached the teardown milestone! After 160 man hours of labor the jeep was reduced to its bare chassis. All the parts were inventoried, photographed, and stored for cleanup and restoration. We were then ready to start Phase II, Parts Restoration.
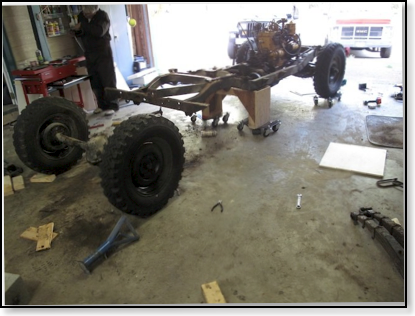
Next Step, the Chassis
Oct/28/2011 16:00
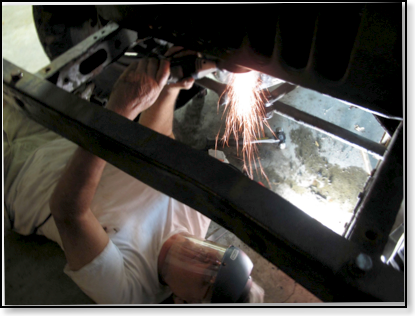
The next step was to remove more parts, clean, repair, and paint them. Starting from the rear end we worked our way forward until all the parts were restored.
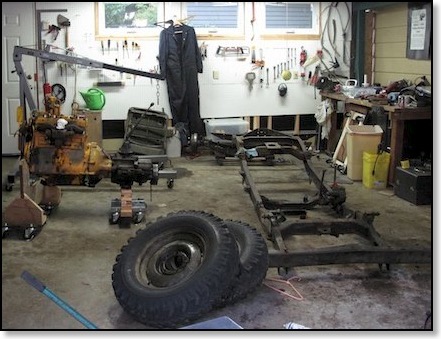
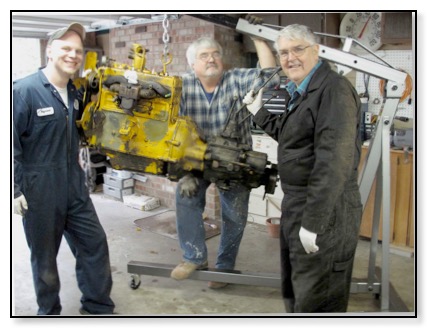
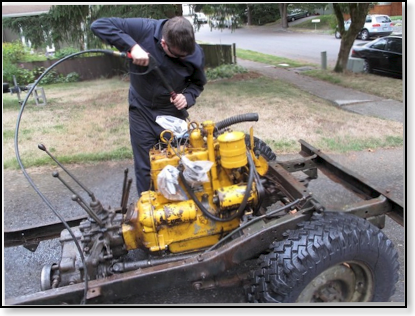
Pulled the Drive Train
Oct/27/2011 15:30
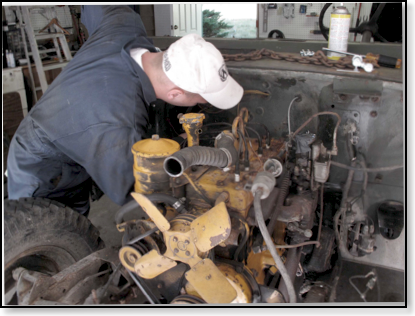
The engine was our first target for restoration. It is not the original engine, it’s an L-134 “Go Devil”. It was in good running order so we will use it for the first build, then the plan is to swap it out for a period correct F-134 “Hurricane.”
The only things we needed to do to the L-134 was t0 fix two broken manifold studs, one on the exhaust manifold and one on the block and add a mechanical fuel pump. You could see the original OD paint color under the yellow coat. The next task was to remove the old paint and repaint the engine in its original military colors.
Removing Engine Parts
Oct/23/2011 16:00
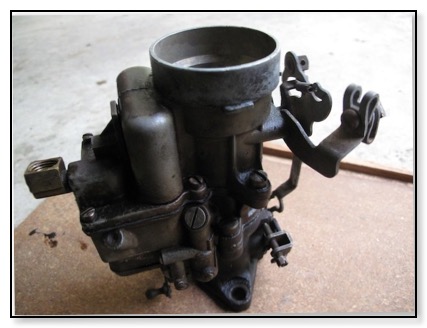
We continued removing parts from the engine in preparation to pull the drivetrain, stripping the jeep to it’s bare bone chassis. We had the carburetor rebuilt.
Pressure Wash
Oct/01/2011 16:00
Daniel came over and helped pressure wash the frame, front end, and engine in preparation for pulling the drive train and stripping the rest of the jeep down to its chassis.
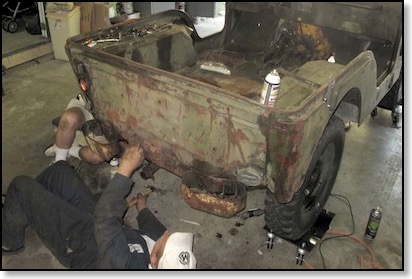
Removed Rear End
Sep/17/2011 16:00
We removed the rear end, shocks, springs, wiring harness, muffler and pipes as we moved toward a completed frame off restore.
Tub Removed
Aug/27/2011 18:00
We made our goal. The tub was removed. We put it aside for awhile. The plan was to focus on the chassis, running gear, and engine.
The Carriage Bolts
Aug/27/2011 14:00
No surprise, the carriage bolts were rusted, fused and unwilling to cooperate. In some cases Raymond broke them off with his super strength, some bolts were ground off, and others were coaxed out with a good soaking of PB Blaster! (See Learning Curve for more detail)
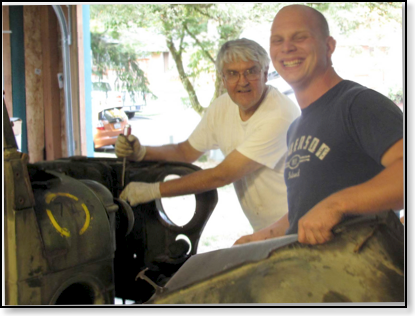
Removing the Steering Wheel
Aug/27/2011 13:00
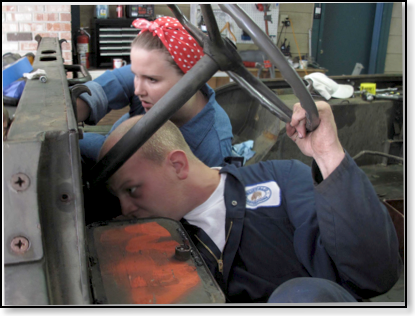
Part of the fun of restoring a vehicle is learning about the mechanics from the inside out. For example, as part of our learning curve we used manual diagrams, intuition, and a wrench or two to remove the steering wheel.
Teresa AKA Rosie
Aug/27/2011 11:00
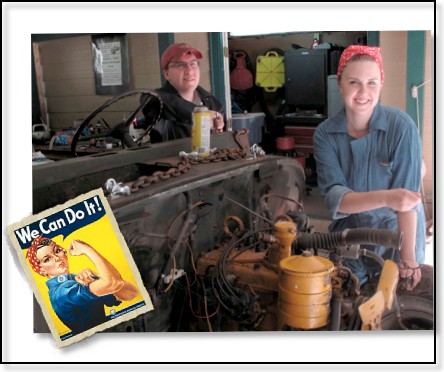
Our very own “Rosie the Riveter” Teresa, helped us remove parts, label them, and prepare the jeep for tub removal.
Removing Parts
Aug/27/2011 05:10
The next morning the rest of the crew arrived and we began removing parts connected to the tub. Our goal was to remove the tub by the end of the day.
Guard Assembly
Aug/26/2011 15:00
The last part we removed Friday evening was the Guard Assembly, as one might expect it had one of those bolts that refused our wrench. We had to cut it off.
Fender Removal
Aug/26/2011 13:00
The fenders were the next major body parts we removed. We knew we had crossed the point of no return. We couldn’t help but think of the day when we would be putting the fully restored fenders back on the Jeep. Little did we know it would be five years later!
Labeling the Parts
Aug/26/2011 11:00
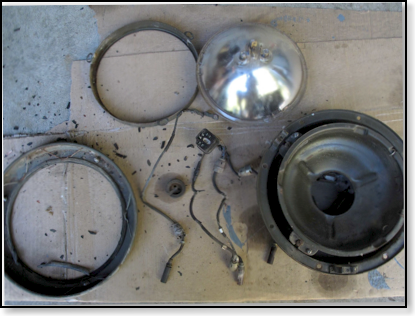
We were careful to photograph and label each part; identifying the condition, bagging them, and putting them a storage container.
Dismantling Began
Aug/26/2011 09:00
Ray joined the group, and the serious dismantling began. After removing the hood we started working our way backwards starting with the headlights.
Garage Setup
Aug/26/2011 08:30
Before beginning the breakdown Bob and Ron finished preparing the garage. They added a 240v outlet for the welder and future air compressor. They also added hooks for the “Come Alongs” used to help remove the tub.
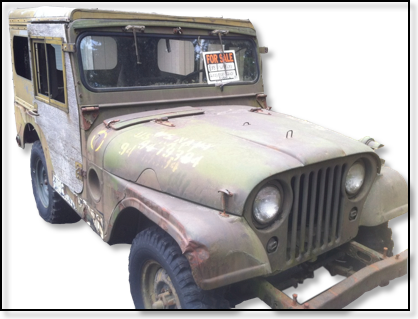
Parts Shed Built
Aug/09/2011 16:00
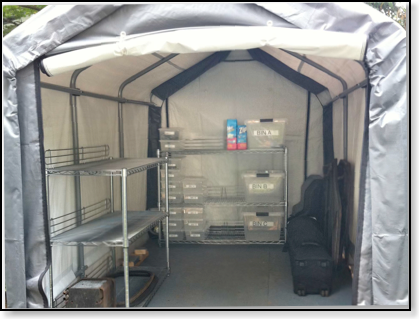
Although we had lots of fun driving the “As-Is” version; it was soon time to get busy. We built a parts shed to store the thousands of parts for restoring and/or replacing while we continued Phase I; dismantling the jeep and restoring the parts. We started the tear-down the weekend of August 26th and 27th, 2011.
Revoved Heater
Jul/26/2011 16:00
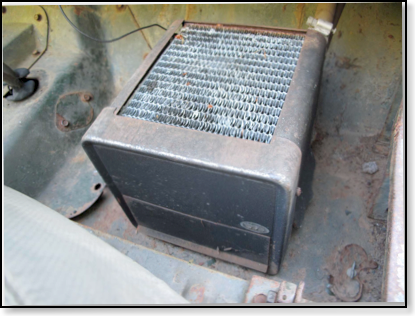
The Jeep came with a heater. Military Jeeps did not have this type of heater. It appears to be a mod from the School District when it was used it as a snowplow! We removed it before our “AS IS” show entry.
Removed the Top
Jul/23/2011 17:00
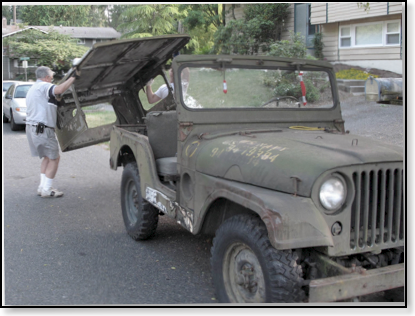
The first thing we did was to take off the doors and top. This “Arctic Top” was added to the M38A1 during the Korean War. They are pretty rare now. This one is in fair condition. We’ll be leaving it off for this restoration.
Began Phase I
Jul/23/2011 08:00
The adventure began, July 23, 2011. The project proceeded in three phases, removal of the parts, restoration of the parts, and reassembly of the jeep. You are invited to share the experience by reading through the entries in this blog and if you are of the mind to start a similar restoration project, let us assure you, it is worth it!