October 2011
Completed the Teardown
Oct/29/2011 18:00 Filed in: Phase I
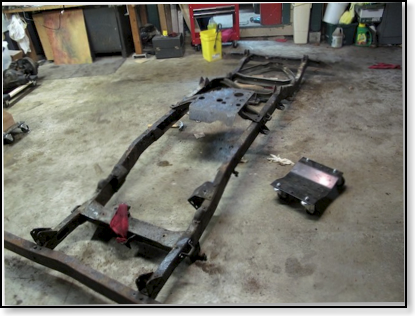
We finally reached the teardown milestone! After 160 man hours of labor the jeep was reduced to its bare chassis. All the parts were inventoried, photographed, and stored for cleanup and restoration. We were then ready to start Phase II, Parts Restoration.
Next Step, the Chassis
Oct/28/2011 16:00 Filed in: Phase I
The next step was to remove more parts, clean, repair, and paint them. Starting from the rear end we worked our way forward until all the parts were restored.
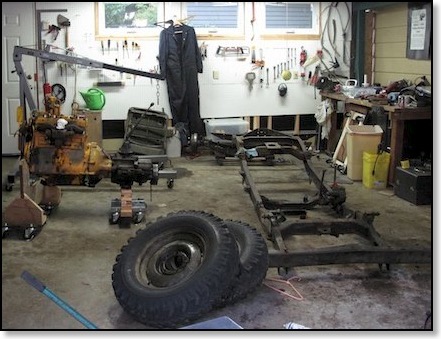
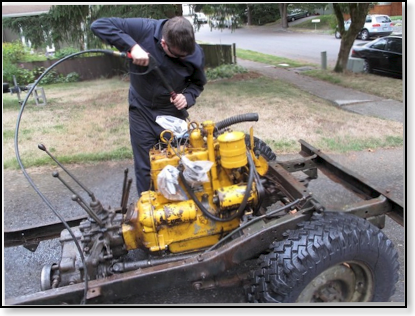
Pulled the Drive Train
Oct/27/2011 15:30 Filed in: Phase I
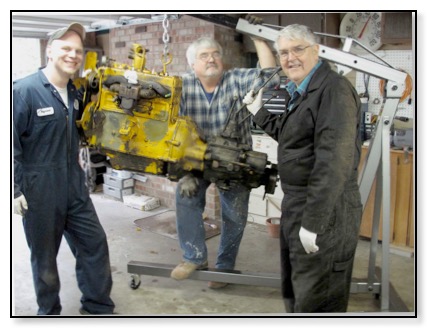
The engine was our first target for restoration. It is not the original engine, it’s an L-134 “Go Devil”. It was in good running order so we will use it for the first build, then the plan is to swap it out for a period correct F-134 “Hurricane.”
The only things we needed to do to the L-134 was t0 fix two broken manifold studs, one on the exhaust manifold and one on the block and add a mechanical fuel pump. You could see the original OD paint color under the yellow coat. The next task was to remove the old paint and repaint the engine in its original military colors.
Removing Engine Parts
Oct/23/2011 16:00 Filed in: Phase I
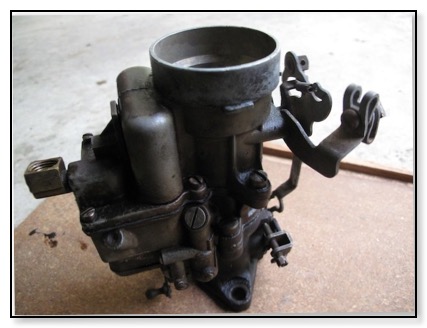
We continued removing parts from the engine in preparation to pull the drivetrain, stripping the jeep to it’s bare bone chassis. We had the carburetor rebuilt.
Pressure Wash
Oct/01/2011 16:00 Filed in: Phase I
Daniel came over and helped pressure wash the frame, front end, and engine in preparation for pulling the drive train and stripping the rest of the jeep down to its chassis.