Phase II
Parts Hunt
05/01/14 05:00 PM

The colder winter months provide the best time to hunt down those missing and hard to find parts. eBay and the forums make the search a lot easier.
Preping More Parts
15/07/13 06:00 PM
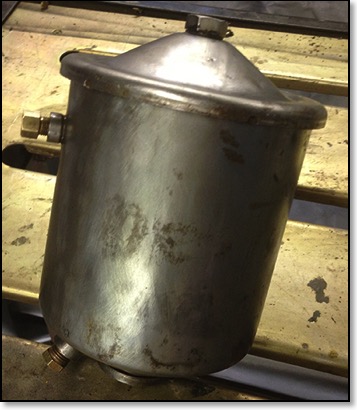
Oil Filter Canister: We are spending much of our time prepping parts to go back on the jeep. The objective is to use as many parts from the original jeep as possible. We take them down to bare metal and prime and paint with rattle cans.
Fuel Pick Up
16/05/13 06:00 PM
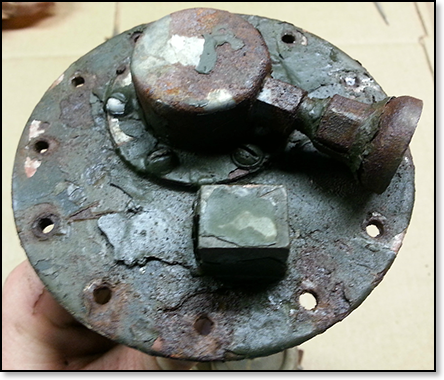
Purchased a used fuel pick up from a seller on eBay. It appears to be in working condition. It just needs a little clean up. We won’t know how well it works for sure until we get the rest of the jeep back together.
Clucth and Brake Pedal Assembly
20/02/13 04:00 PM
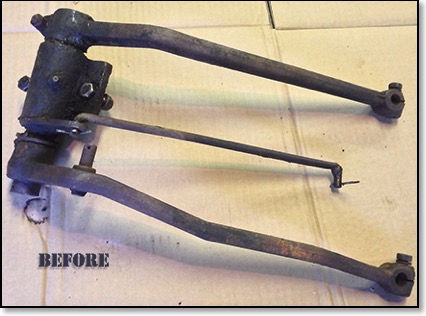
Cleaned and refurbished clutch and brake pedal assembly. We’ll wait for warmer weather to paint the parts. Our short term goal is to get all the components cleaned and ready for painting by June.
Prepping Parts
27/01/13 06:00 PM

Besides ordering missing or broken components we are cleaning and prepping the parts we are able to restore.
Finished Engine Restoration
29/07/12 05:00 PM
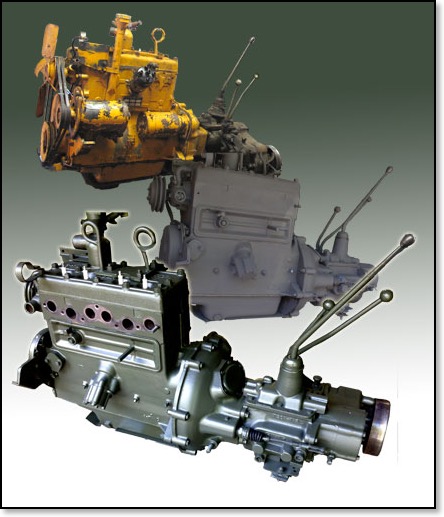
It has taken awhile, but now the engine is restored. We’ll be mounting it on to the frame soon and then reinstall the rest of the parts.
Cleaned and Primed Engine
26/07/12 06:00 PM
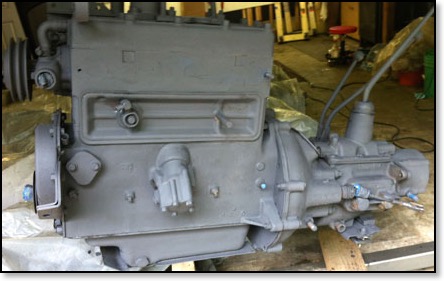
Turning the engine from a dirty greasy yellow to a nice cleaned and primed engine was about 12 hours in the making! But it was worth it! Fortunately we did not have to rebuild the engine, it ran well when we started the project. Just a few fuel issues which we will address in due time.
Painted Parts & Completed Tires
25/07/12 05:00 PM
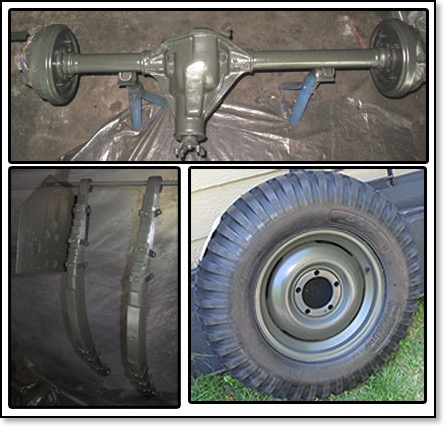
Another exciting milestone! We painted the axles and springs with the beautiful “Marine Forest Green” and installed the new tires on the freshly restored rims.
Primed Front Axle Assembly
24/07/12 06:00 PM
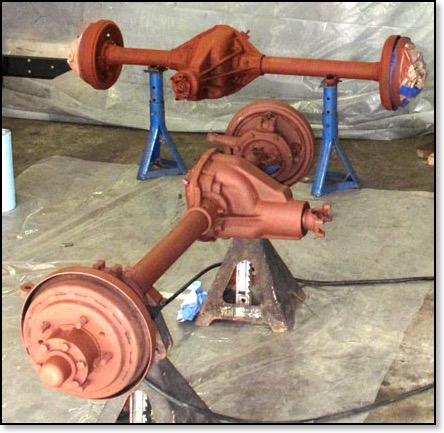
After a thorough cleaning we primed the front axle assembly.
Cleaned Front Axle Assembly
22/07/12 05:00 PM
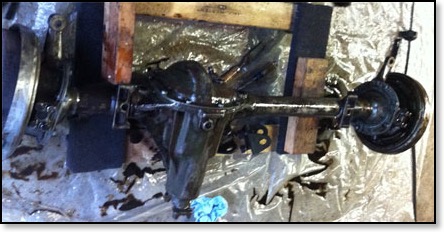
It was very important to clean all the grease from the axle before it was primed. We used a combination of cleaners. A heavy duty cleaner from Harbor Freight, Simple Green, and a special Marine Cleaner for the auto paint store. And, of course, a lot of elbow grease, scraping and wire brushing.
Painting Frame and Wheels
21/07/12 07:00 PM
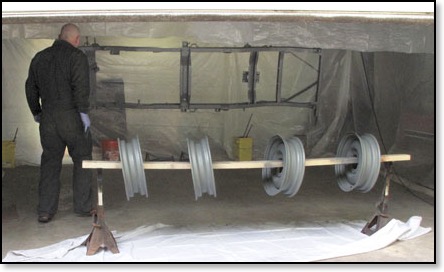
We hung the frame and put the wheels through a 2x4 on jack stands for priming and painting. Seeing the frame and wheels completed helped us visualize the finished restore. It’s getting exciting!
Pick up Sanblased Parts
20/07/12 08:00 PM
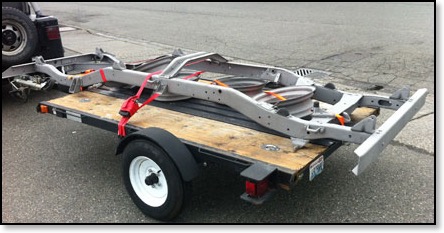
We picked up the frame and wheels from the sandblasters. After checking with a number of local sandblasters the price for wheels and frame ran has high as $50 a wheel and $300 for the the frame. We found a shop that did the whole job for $180!
Replacing the Manifold Studs
19/07/12 05:00 PM
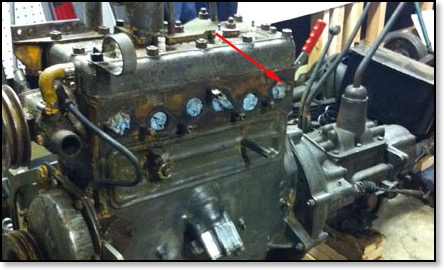
During engine removal we broke a mounting stud. They were in pretty bad shape. It sheered off flush to the engine block. After a feeble attempt to remove it we decided to take to a local machinist and replace them all.
Sandblasting Frame and Wheels
18/07/12 04:00 PM
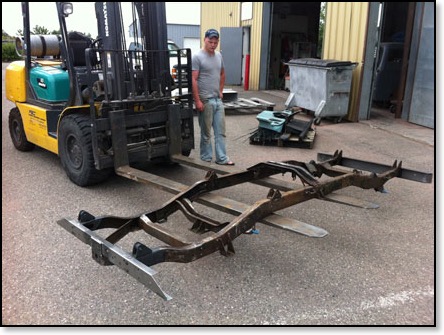
We took the frame to the sandblasters to prepare it for painting.
Cleaned Leaf Springs
17/07/12 06:00 PM
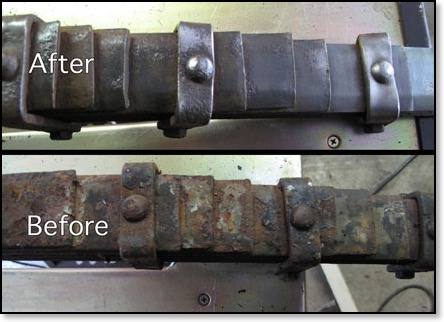
Cleaned leaf springs by hand! It was a tedious job to say the least. It took about three hours per spring. We wanted to preserve the original 13 leaf spring assembly. The repros seem to come with fewer leaves.
New Crossmember and Bumper
17/07/12 04:00 AM
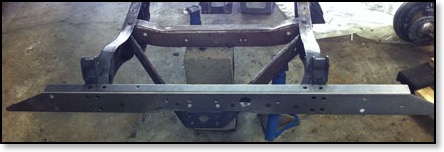
We Installed the new crossmember and front bumper. The crossmember assembly required welding the pintle hook plate and inside support in place. We also had to deal with the rivets that attach the crossmember to the frame.
Cleaned and Primed Rear End
15/07/12 06:00 PM
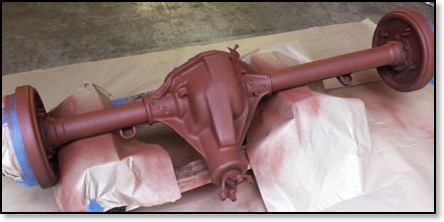
Completed cleaning and apply a primer to the rear end assembly.
Prep Frame for Sandblasting
11/07/12 06:00 PM
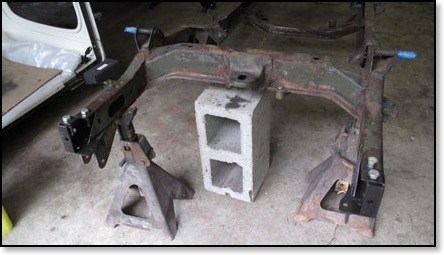
We spent some time preparing the frame for sandblasting. Degreasing, scraping paint and removing a few more parts. Both the front bumper and rear crossmember will be replaced prior to sandblasting.
First Painted Part
10/07/12 04:00 PM
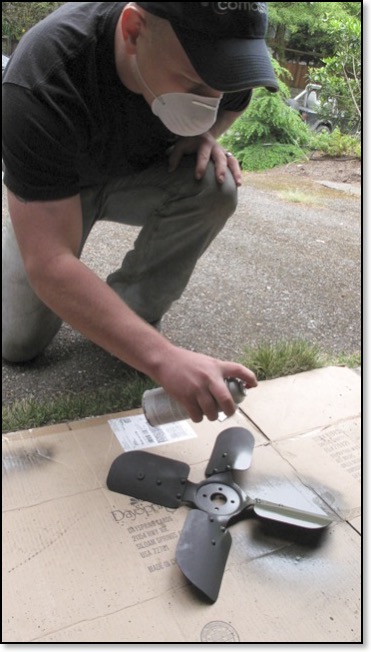
Another landmark event, we painted in Marine Forest Green our first fully resorted part. The Fan. Many more parts will follow, some new, some restored, as we look forward to Phase II, reassembly.
Removing Rear Crossmember
07/07/12 06:06 PM
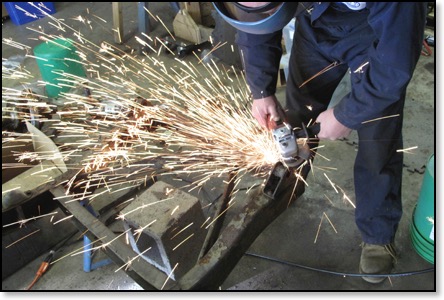
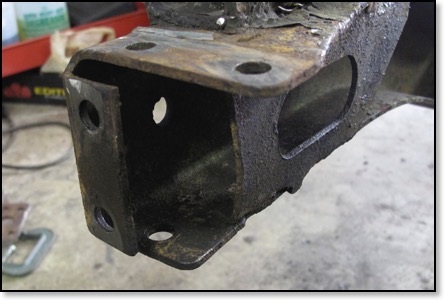
After some discussion we decided to replace the rear crossmember. It was in poor shape and sustained quiet a blow in a rear end collision resulting in a slight bow inward with tears and buckles in the metal at the both ends at the rivets. We decided to also replace the “V-Brace”. Bad idea! We made another newbie mistake. Here’s the lesson learned: Do not destroy a part before you know you can replace it! Come to find out they do not make a reproduction “V-Brace for a M38A1. The rear crossmember was no problem. The good news for us was that we discovered it before we completely destroyed the brace, with only one cut we will be able to straighten it and weld it back in place. Education can be expensive!
Removing the rivets was accomplished by grinding the top off clear down to the surface of the frame (carefully) until we could see the outline of the rivet shaft. Then we chiseled the other side to loosen the shaft followed by a center punch and multiple hard wraps with a big old hammer. In some cases we drilled partially into the rivet to help hold the punch in place. Patience is the key ingredient! The whole operation took about three hours.
Prep Parts for Paint
03/07/12 05:00 PM
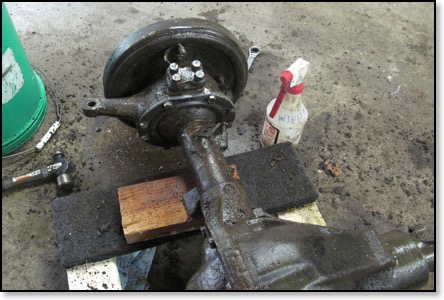
Now comes the step by step task of cleaning, repairing, or replacing parts in preparation to paint them.
Tub Repair Section
09/06/12 04:00 PM
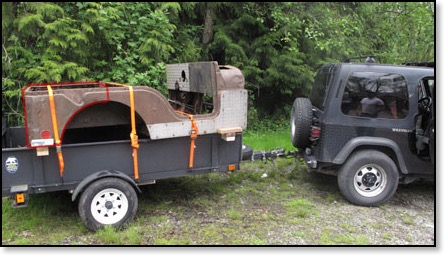
Our jeep’s tub has some serious damage to the right rear corner and tailgate. It is beyond simple body work. We were able to locate this tub in rough shape except for the part we need. It appears the back end had been covered keeping the area we are interested in relatively good shape, little rust and just a few small dents.
Refurbish Generator
30/05/12 08:00 PM
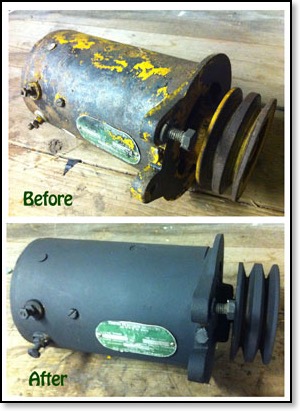
The restoration season begins anew. The cold winter months kept us out of the garage. But now the weather is warming and we’re getting back into the project. The 12v Generator was the first of many parts that will be repaired, refurbished or replaced before we begin the reassembly phase.
Engine Fall
29/12/11 04:00 PM
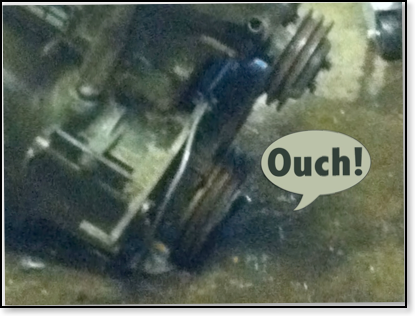
It’s to be expected. Accidents will happen on any big (first time) project. We built what seemed a very sturdy engine stand. It rolled on three wheel dollies. While pushing the engine back to its storage place a wheel hit a small screw which stopped the dolly but not the engine! A new crankshaft pulley is on order!
Pulled Drive Train
19/11/11 05:00 PM
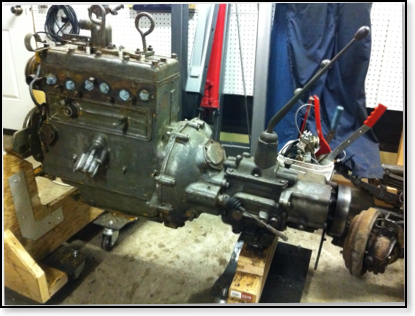
The engine is our first target for restoration. It is not the original engine, it’s an L-134 “Go Devil”. It is in excellent running order so we will use it for the first build, then the plan is to swap it our for an F-34 Hurricane.
The only thing we will need to do to the L-134 is fix two broken manifold studs, one on the exhaust manifold and one on the block and add a mechanical fuel pump. The yellow paint was removed in preparation for painting the engine in beautiful Military OD.
Completed Tear Down
29/10/11 04:00 PM
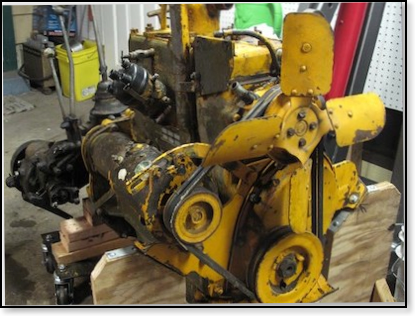
The first order of business is to remove the old paint from the engine. This engine was rebuilt in 1958. It was sold to a school district in Utah. We believe it was painted yellow while the school district owned it.
