Removing Rear Crossmember
07/07/12 06:06 PM Filed in: Phase II


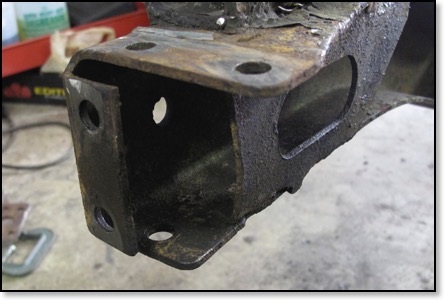
After some discussion we decided to replace the rear crossmember. It was in poor shape and sustained quiet a blow in a rear end collision resulting in a slight bow inward with tears and buckles in the metal at the both ends at the rivets. We decided to also replace the “V-Brace”. Bad idea! We made another newbie mistake. Here’s the lesson learned: Do not destroy a part before you know you can replace it! Come to find out they do not make a reproduction “V-Brace for a M38A1. The rear crossmember was no problem. The good news for us was that we discovered it before we completely destroyed the brace, with only one cut we will be able to straighten it and weld it back in place. Education can be expensive!
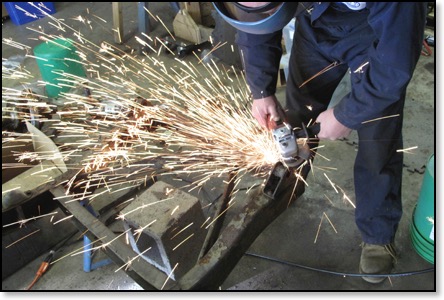
Removing the rivets was accomplished by grinding the top off clear down to the surface of the frame (carefully) until we could see the outline of the rivet shaft. Then we chiseled the other side to loosen the shaft followed by a center punch and multiple hard wraps with a big old hammer. In some cases we drilled partially into the rivet to help hold the punch in place. Patience is the key ingredient! The whole operation took about three hours.